Tool to Put Lotion on Your Own Back
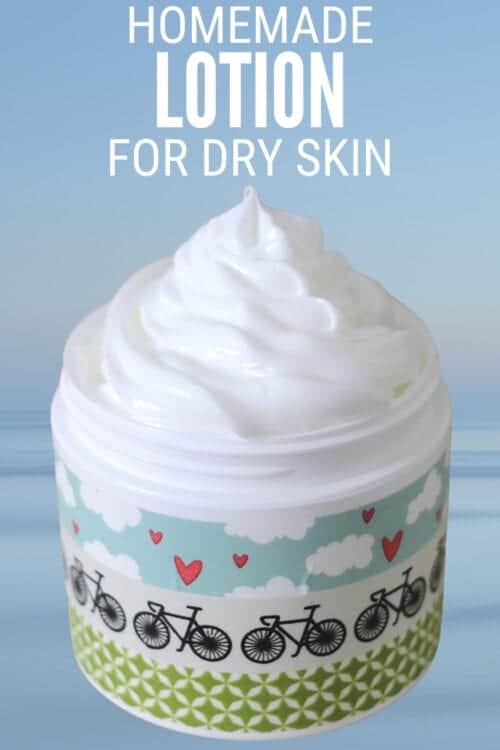
Soften that dry skin with this recipe for Handmade Lotion made with Baby Lotion. Below is the step by step tutorial and video.
Do you have dry skin too? My skin is super dry, flaky, and really pretty gross. My feet are worst! Ew.
About a year ago a friend made me some lotion from a recipe she had gotten from a coworker. She loved the lotion so much that she had to share it with me because that is what friends do – share! Now I love it so much that I want to share it with you!
This lotion really is AMAZING! It is a thicker lotion and a touch oily (but not too much, just perfect) so if you don't have super dry skin this probably isn't the right lotion for you.
Handmade Beauty Products:
Beauty products are fun to make and are great gifts for birthdays, holidays, or for any special event. We have shared a couple along the way, like this Exfoliating Loofah Soap, this Homemade Hand Sanitizer, and this Peppermint Sugar Scrub.
Be sure to look around the blog for more fun beauty craft tutorials!
Supplies You'll Need to Make This Craft:
This post contains affiliate links.
- Johnson's Baby Lotion (27 oz)
- Vitamin E Skin Care Cream (Double Pack 4 oz each)
- Petroleum Jelly (7.5 – 13 Oz)
- Medium Mixing Bowl
- Hand Mixer
- Mini Spatula
- Travel Jars
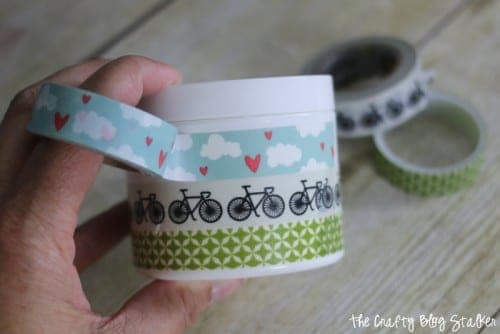
- Washi Tape (optional)

For the baby lotion, my personal preference is the Honey Apple but any scent will work.
The recipe also gives a range on the amount of Petroleum Jelly to use. The larger the container the more "greasy" the lotion will be. So you can customize the lotion so it is perfect for you.
If you aren't a fan of petroleum jelly, I do have another version of this recipe that uses coconut oil instead – Coconut Oil Lotion Recipe with Baby Lotion.
Recipe for Lotion:
Are you ready, this is a very difficult recipe. Just kidding, this is so easy!
Add all three ingredients to a medium-sized mixing bowl and stir.

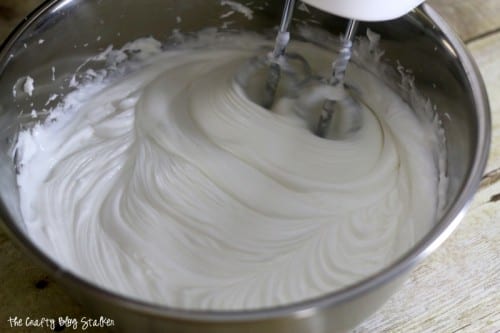
Whip for a couple minutes until the lotion is nice and smooth.
Next, oh wait, thats it. The lotion is done!
Storing the Lotion:
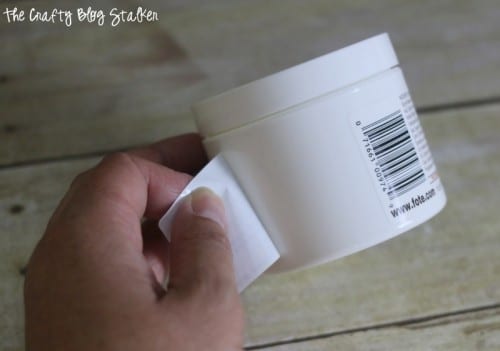
Don't throw the Vitamin E or Petroleum Jelly containers away because you will need something to put the new lotion into, and these containers work perfectly!
The labels even come off of the Vitamin E jars so easily. I love it when they do that!
If giving this lotion as a gift, you can also purchase small travel jars that are the perfect size. The colored ones in the picture below hold 2.5 ounces and the colors are so fun!
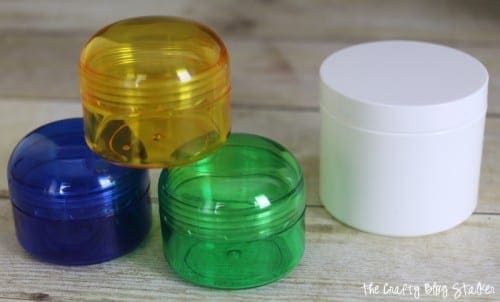
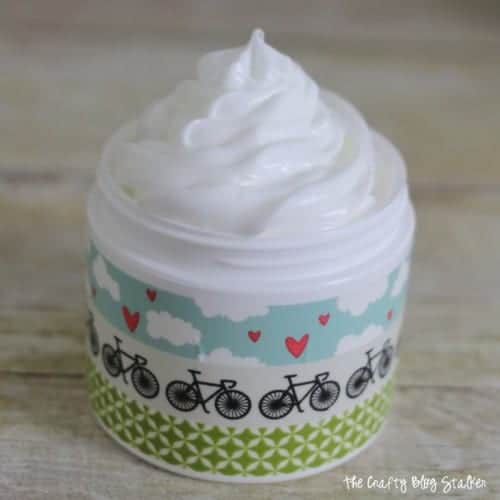
You could also even decorate the jars with a little bit of washi tape – so cute!
Using a mini spatula, fill the jars with lotion. Any spoon or spatula will work but the mini spatula is the perfect size to scoop the lotion and not make a mess by getting it all over the sides of the container.

It almost looks like ice cream it is so fluffy!
This batch of dry skin lotion filled 6 – 4-ounce jars, 3 – 2.5-ounce jars, and 1 – 13-ounce jar.
You can see that it makes quite a bit, and gives you lots of options to have a jar at your desk, by your bed, in the bathroom, in your purse, and still enough to share with friends or family.

If you love this tutorial, please give it a five-star review and help me share it on Facebook and Pinterest!
Craft Tutorial Video:
Materials
- Johnson's Baby Lotion 27 oz
- Vitamin E Skin Care Cream 8 oz
- Petroleum Jelly 7.5 - 13 oz
- Travel Jars
Tools
- Medium Mixing Bowl
- Hand Held Mixer
- Mini Spatula
Instructions
- Add all three ingredients to a medium-sized mixing bowl and combine.
- Whip for a couple minutes until the lotion is nice and smooth.
- Transfer lotion to travel jars using the mini spatula.
Our Crafting Essentials List:
- The Cricut Cutting Machine is easily our favorite crafting tool. We use it in so many of our tutorials!
- This Fiskars Paper Trimmer is easy to use and cuts nicely without frayed edges.
- These Scotch Precision Scissors cut like a dream and you get multiple pairs in a pack!
- Keep those started project supplies organized and separated with Stacking Plastic Baskets. I always work on more than 1 project at a time and these baskets really help me from losing supplies.
Wood Burned Spoons make a great handmade gift or personalize and keep to use yourself! Below is the step by step tutorial and video.
Learn how to make your own Vinyl Car Decals with the Cricut Explore. Click here now for the tutorial featured by The Crafty Blog Stalker!!
Put your artwork on display and Frame Diamond Art with a simple canvas wrap technique. Click here for the step by step tutorial with video.
Decorate your home with a beautiful sea glass wind chime. This step by step tutorial will show you exactly what to do. Free printable template included!
Learn how to make Mini Wood Pallet Coasters with Popsicle Sticks. Click here for the step by step tutorial and video!
Tool to Put Lotion on Your Own Back
Source: https://thecraftyblogstalker.com/best-lotion-ever/
0 Response to "Tool to Put Lotion on Your Own Back"
Post a Comment